How To Make Plunge Cut With A Circular Saw An Overview
The article, How To Make Plunge Cut With A Circular Saw An Overview, depicts how to create plunge cuts using tips while spotlighting safety precautions! Surely, using a circular saw will give powerful performance and durability.
Before using these techniques DIYers have to face the problem with edge cutting of the wood with a circular saw. Surely, the plunge cuts with a circular saw has sought out the issue
How To Make Plunge Cut With A Circular Saw? To execute a plunge cut with a circular saw, I placed the saw on the rear stop and turned it on.
Gradually lower the saw onto the material, then slowly glide it up to the second stop. Once the final stop was reached, I lifted the saw away from the material. The plunge cut technique provides versatility and enables accurate and controlled cuts, making it a valuable skill to master when using a circular saw.
I used the plunge cut for preparing the frame for my pet house. I experienced the plunge cut with a portable circular saw through this. I also have greatly expanded my capabilities by using these steps.
How To Make Plunge Cut With A Circular Saw An Overview
For getting the most accurate results I ponder over the tools and materials I needed.
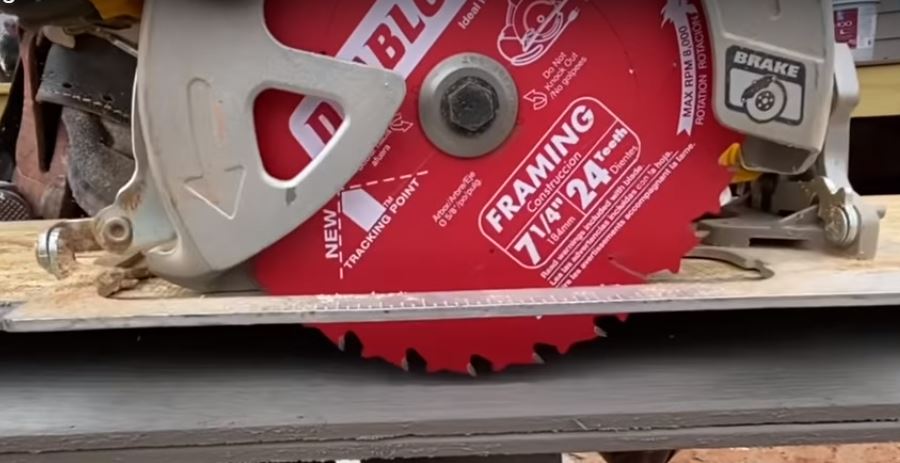
- I chose a circular saw
- Circular saw blade
- Guide rail
- Clamps (optional)
- Safety goggles
- Ear protection
- Dust mask
- Measuring tape and pencil
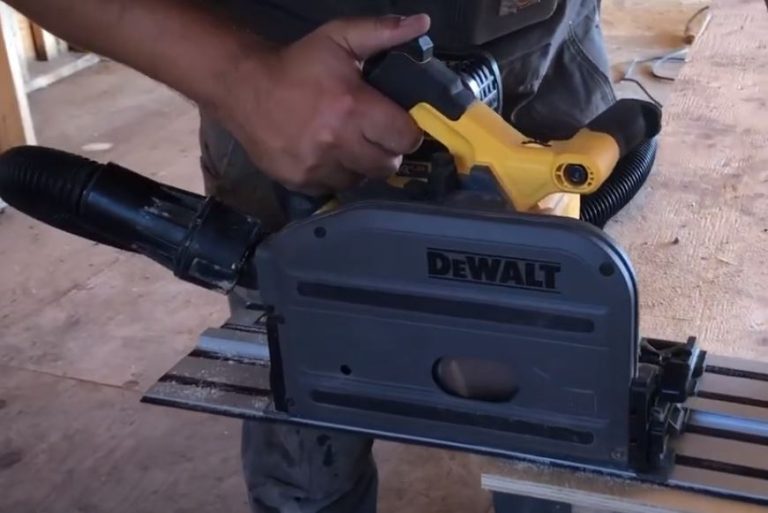
Choose A Portable Circular Saw
I used a portable circular saw Festool TS 55 that has maximum power and extreme durability. The foremost step is to choose the appropriate circular saw blade for cutting material. As various blades are designed for specific applications, such as wood, metal, or masonry etc.
Mark And Measure
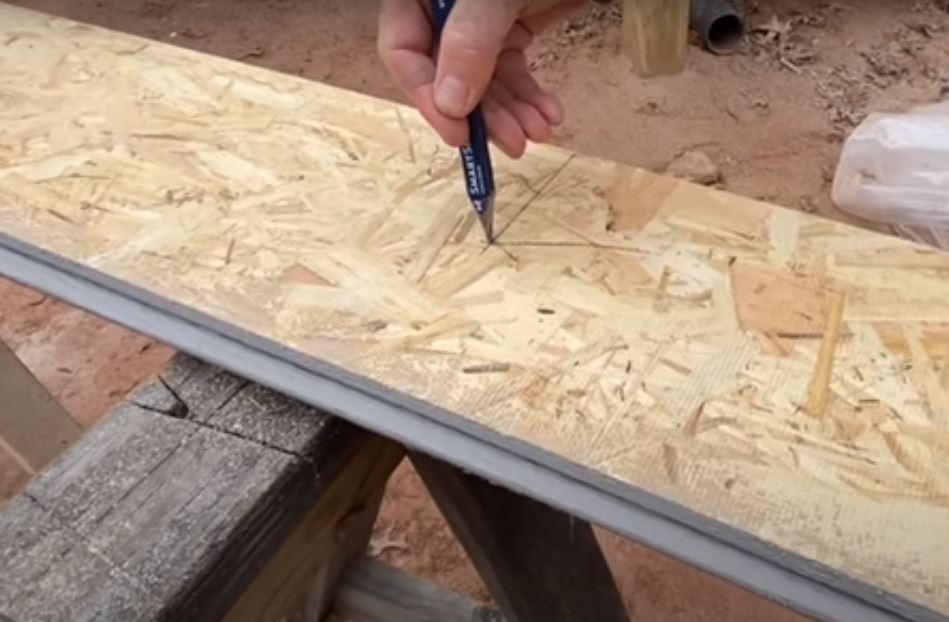
It is important to mark and measure the desired location of the plunge cut saw on the workpiece. So I used a measuring tape and pencil to create accurate markings. I observed the starting point of the plunge cut, ensuring that it is in a suitable position.
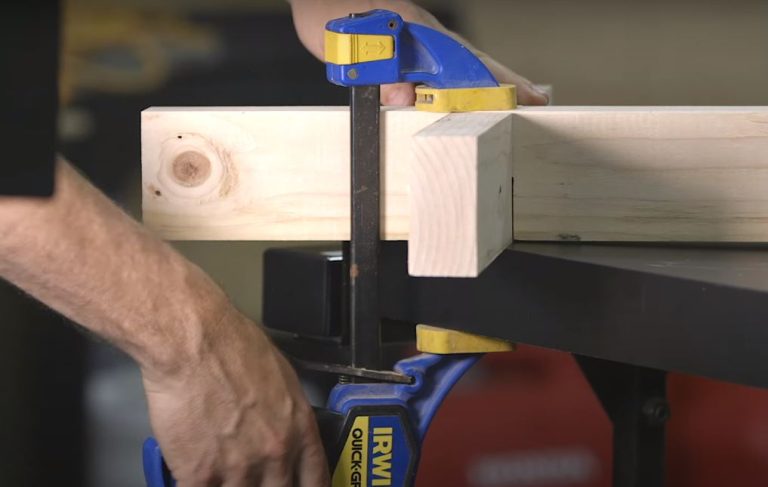
Set Up The Guide Rail
I needed the straight cuts for frame work, in this way the guide rail really helped me in achieving straight and precise cuts. I set the position of guide rail along the cut line, ensuring that it is securely clamped. I also verified the distance between the blade and the edge of the guide rail matches the desired width of the cut.
Adjust The Saw Depth
To ensure precise cutting, it is vital to adjust the depth of the plunge cutting saw accordingly. I aligned the cutting depth with the thickness of the workpiece to prevent the blade from cutting too deep. Most circular saws have a knob for depth adjustment that can be securely locked once the desired depth was achieved. Additionally, it is recommended to set the depth stop to the maximum cutting depth as an extra precaution. By paying attention to the depth adjustment, I maintained accuracy and avoided cutting beyond the intended depth with your circular saw.
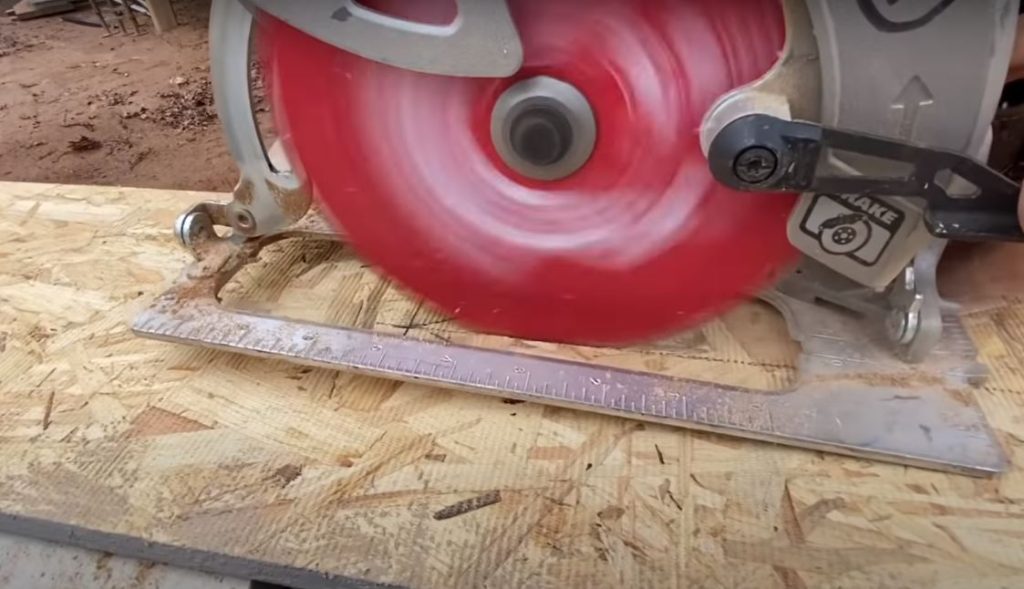
How to make straight cuts with a circular saw?
I adjusted the position of the circular saw with the blade guard raised and the front edge of the shoe resting on the workpiece. I started to align the blade with the starting point of the plunge cut. I firmly hold the circular saw with both hands by placing one hand on the front and the other on the auxiliary hands. I activated the saw and allowed the blade to reach full speed before starting the plunge cut.
I applied smoothly downward pressure on the saw to initiate the plunge cut. By allowing the blade to easily penetrate into the workpiece. I guided the saw along the cut line and also kept my hands firmly on the handles and the shoe of the saw flush against the workpiece.
Here I kept in mind that forcing the saw or making sudden movements can lead to kickback cuts. So I avoided it!
Final Cut
The plunge cut initiated and continued to move the circular saw forward along the cut line until the desired length was received. I also observed a smooth and constant motion of the saw on the cutline and it didn’t deviate. Before removing the circular saw from the workpiece, I ensured that the blade had reached its full speed. I then released the power trigger and patiently waited for the blade to come to a complete stop.
Only after the blade had stopped rotating entirely did I lift the saw away from the material. This cautious approach ensures safety and prevents any unintended movement or contact with the blade. Taking these steps allows for a controlled and secure disengagement of the circular saw from the workpiece.
Conclusion
To conclude, How To Make Plunge Cut With A Circular Saw, mastering the plunge cut techniques with a circular saw opens up new possibilities in woodworking. By marking accurately, and executing the cut with precision, I am enabled to get clean and controlled plunge cuts. I’m so excited in expanding my capabilities and enhancing the quality of my projects.
Frequently Asked Questions
Q. Can I use a circular saw as a plunge saw?
A. Many people consider that simply a circular saw is enough for making plunge cuts. While many don’t have ribbing knives for making plunge cuts possible. A circular saw won’t provide clean, accurate cuts that a plunge saw will provide.
Q. Why is a plunge saw better than a circular saw?
A. The plunge saw features a distinct design that eliminates the need for a retractable blade guard found in traditional circular saws. With the blade enclosed within the machine, the plunge saw offers several advantages. It provides improved safety by minimizing the risk of accidental contact with the blade.
Q. How deep can a plunge saw cut?
A. Bevel- cutting capacity can be set from -1 degrees to 47 degrees and can cut up to 1-½ deep at 45 degrees.