How To Repair Drywall Like A Professional
How To Repair Drywall Like A Professional. This article presents how to repair drywall like a pro with our expert guide. Discover step-by-step instructions, essential tools, and techniques to achieve seamless, professional-quality results in your home.
How To Repair Drywall Like A Professional? how to fix a hole in the wall To repair drywall like a professional, start by cleaning the damaged area, applying mesh tape or paper tape, and layering joint compound. Sand, prime, and paint for a seamless finish. Attention to detail is key.
Drywall damage, whether it’s a small hole or a larger problem, can be an eyesore in your home. But fear not, learning how to repair drywall patch like a pro is easier than you might think. With the right tools, materials, and techniques, you can patch up those unsightly blemishes and have your walls looking flawless again. In this step-by-step guide, we’ll walk you through the process of repairing drywall, from small holes to more extensive damage, so you can tackle any issue with confidence.
This guide made me feel like a drywall pro! The step-by-step instructions were clear and easy to follow. I tackled some small holes and cracks, and the results were impressive. It saved me time and money, and my walls look flawless.
How To Repair Drywall Like A Professional/ A Complete Guide
Gather Your Tools and Materials
Before you begin, make sure you have the following items on hand:
- Putty knife
- Sandpaper
- Drywall compound
- Drywall tape
- Utility knife
- Drywall screws (if needed)
- Drywall saw
Step 1: Prep the Hole
How to patch a hole in drywall. Use a utility knife to clean up the edges of the hole and remove any loose or damaged drywall material. Ensure the area around the hole is smooth and clean.
Step 2: Apply Drywall Tape
Cut a piece of drywall tape slightly longer than the height of the hole. Place it over the hole, centering it and pressing it firmly onto the wall.
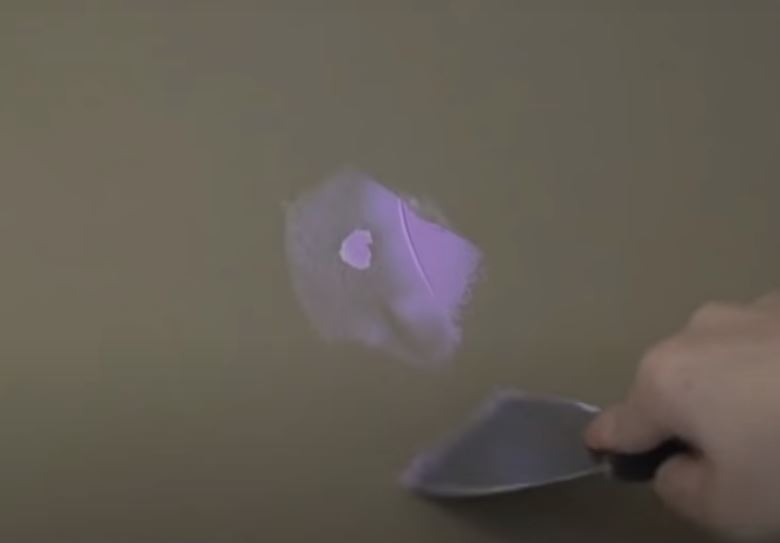
Step 3: Apply Joint Compound
Using a putty knife, apply a thin layer of joint compound over the tape and the hole. Feather the edges to blend with the surrounding wall. Let it dry completely.
Step 4: Sand and Repeat
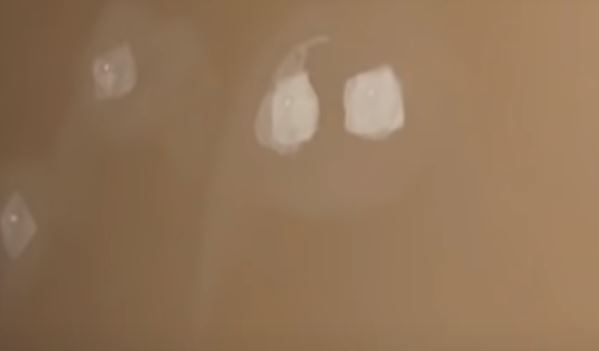
Once the first layer is dry, sand it smooth. If necessary, apply a second coat of joint compound and repeat the sanding process until the patched area is smooth and flush with the wall.
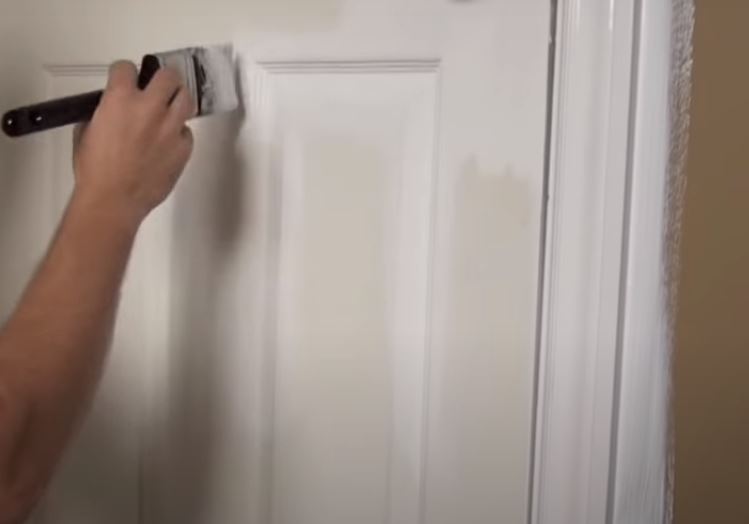
Step 5: Paint
After the patch is dry and smooth, you can paint over it to match the rest of the wall. Be sure to use the same paint color and finish for a seamless look.
Repairing Large Holes in Drywall
Gather Your Tools and Materials
For repairing larger holes, you’ll need some additional tools and materials:
- A piece of drywall
- Stud finder
- Carpenter’s square
- Drywall screws
- Drywall compound
- Drywall tape
- Taping knife
- Sandpaper
Step 1: Cut Out the Damaged Area
- How to fix a hole in drywall. Using a stud finder, locate the wall studs near the damaged area. Use a carpenter’s square to mark a square or rectangular shape around the hole.
- Cut out the damaged drywall along the lines you marked using a drywall saw. Be sure to cut along the studs, creating a clean and straight edge.
Step 2: Attach a Backing Piece
Cut a piece of drywall to fit the hole, making sure it’s slightly larger than the damaged area. Attach this piece to the backside of the drywall using drywall screws.
Step 3: Apply Drywall Tape and Compound
Apply drywall tape over the seams where the new piece of drywall meets the existing drywall. Use a taping knife to spread a thin layer of joint compound over the tape, feathering the edges.
Step 4: Sand and Repeat
Let the compound dry, and then sand it smooth. Apply a second coat if necessary, and repeat the sanding process until the patched area is flush with the surrounding wall.
Step 5: Paint
Once the patch is smooth and dry, you can paint it to match the rest of the wall. Your repair should now be virtually invisible.
Tips and Tricks for a Professional Finish
- When using joint compound, apply it in thin layers and feather the edges to create a seamless transition with the wall.
- Sand the repaired area between coats of joint compound to achieve a smooth finish.
- Use a utility knife to cut the drywall tape cleanly.
- If the hole is near electrical wires or plumbing, exercise caution and consider consulting a professional to ensure safety.
Conclusion
To sum up, How To Repair Drywall Like A Professional. Learning how to repair drywall like a professional can save you time and money on home improvement projects. Whether you’re dealing with small holes or more extensive damage, the key is to take your time, follow the steps carefully, and use the right tools and materials. With practice, you’ll be able to tackle any drywall repair job with confidence, leaving your walls looking flawless and your home in top-notch condition. So, don’t let those unsightly holes in your wall bother you any longer – patch them up like a pro!
Frequently Asked Questions
Certainly, here are three frequently asked questions (FAQs) about repairing drywall like a professional:
- FAQ 1: What tools and materials do I need for a professional-level drywall repair?
- Answer: Common tools and materials include a utility knife, putty knife, drywall joint compound, sandpaper, mesh tape or paper tape, and a primer. Professional results also require proper technique and patience.
- FAQ 2: Can I repair large holes or cracks in drywall on my own, or should I hire a professional?
- Answer: Smaller holes and cracks are typically manageable for DIY repair. However, for large or structural damage, it’s advisable to consult a professional drywaller to ensure a proper and safe fix.
- FAQ 3: What are the essential steps for repairing drywall like a pro?
- Answer: Key steps include cutting out damaged sections, applying tape and compound in layers, sanding between coats, and finishing with primer and paint. Proper preparation and technique are vital for a professional finish.