Crafting A DIY Kerf Maker For Precise Dados and Grooves
This article, Crafting a DIY Kerf Maker for Precise Dados and Grooves, Create a DIY kerf maker to achieve accurate dados and grooves in your woodworking projects. This guide provides step-by-step instructions for crafting this essential tool, ensuring precise and professional results in your woodworking endeavors.
How to Crafting a DIY Kerf Maker for Precise Dados and Grooves? Easily create a DIY kerf maker for accurate dado machine and grooves with this guide. The step-by-step instructions enable crafting this essential woodworking tool, ensuring precise and professional results in your projects.
Creating precise dados and grooves in your woodworking projects is crucial for achieving strong joints and clean designs. A kerfmaker is a valuable tool that helps you achieve accurate results without the need for complex setups. In this guide, we’ll show you how to make a DIY kerfmaker for perfect dados and grooves using simple materials and techniques.
Crafting the DIY kerf maker is really superb. . Precise dados and grooves become a breeze. Highly recommended for woodworkers seeking accuracy. This guide simplifies kerf maker crafting. Achieve flawless dados and grooves effortlessly.
Crafting a DIY Kerf Maker For Precise Dados And Grooves/A Proper Guide
Step 1
Gather Your Tools And Materials
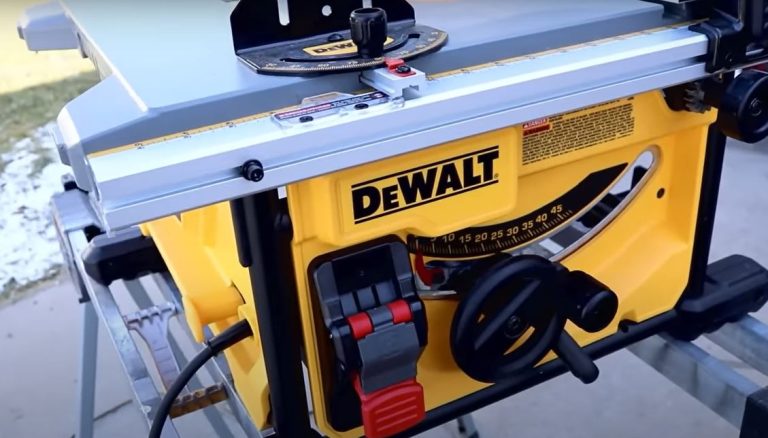
- Table saw
- Drill and drill bits
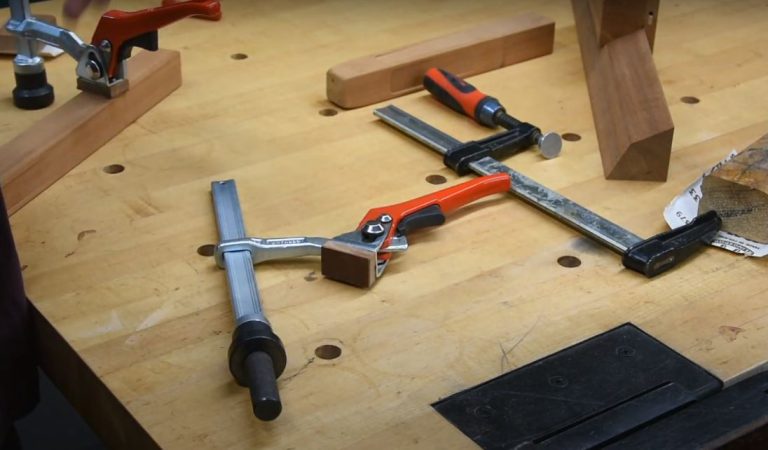
- Clamps
- Saw blade
- Sandpaper
Materials Required
- Scrap piece of plywood
- Small piece of wood
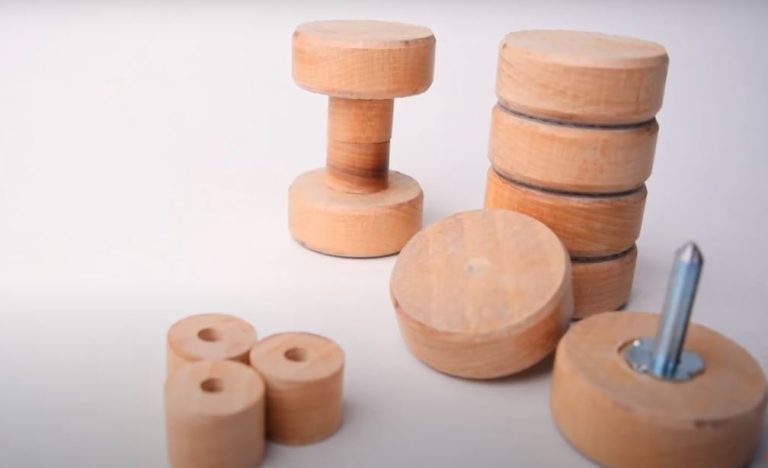
- Washers
- Screws
Step 2
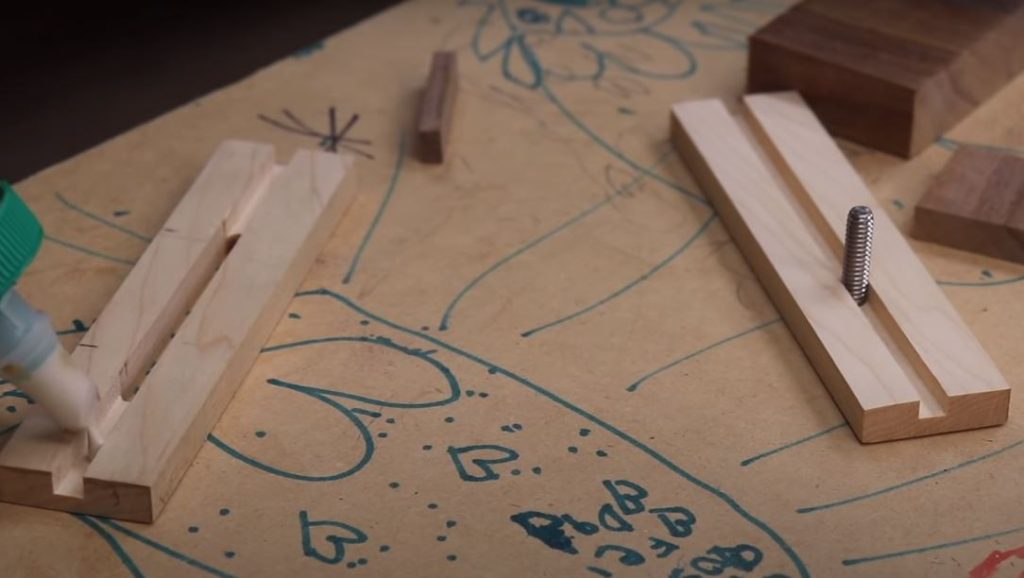
Build The Kerfmaker Body
- Prepare The Base
- Cut a piece of scrap plywood to the desired size for your kerfmaker base. This will serve as the foundation for the jig.
- Add The Guide Slot
- On the base, create a slot that will hold the small piece of wood used to guide the workpiece. This slot should be wide enough to accommodate the wood piece while allowing it to slide smoothly.
- Attach The Guide Piece
- Cut a small piece of wood that fits into the slot. Attach it securely to the base using screws and clamps. This guide piece will help you control the width of the dado or groove.
Step 3
Create The Depth Adjustment Mechanism
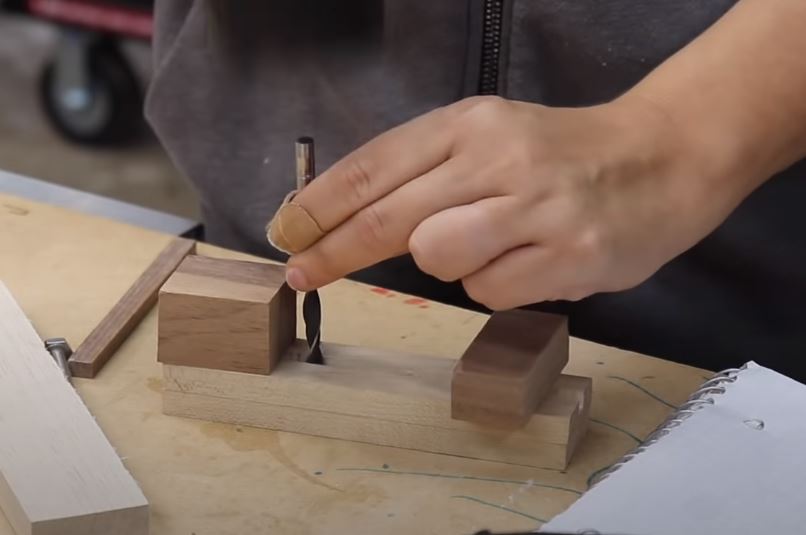
- Install The Washers
- Attach washers to the bottom of the guide piece. These washers will determine the depth of the cut. The more washers you add, the shallower the cut will be.
- Set The Stop Block
- Place a stop block on the base, positioning it to limit the movement of the guide piece. This will ensure consistent results when making multiple cuts.
Step 4
Using The Kerfmaker
- Prepare Your Workpiece
- Set up your table saw and adjust the blade to the desired cutting width. Place your workpiece against the guide piece, sandwiching it between the guide piece and the saw blade.
- Make The Cut
- Run the workpiece through the table saw, allowing the blade to cut into it. The guide piece will ensure that the cut is straight and accurate.
- Repeat As Needed
- For longer grooves or multiple dados, simply move the workpiece along the guide and repeat the cutting process. The washers will control the depth of each cut.
- Sand And Finish
- After making the cuts, use sandpaper to smooth any rough edges or surfaces.
Additional Tips And Considerations
- Precision Is Key
- Take your time to set up the kerfmaker accurately. Ensure that the guide piece is secure, and the washers are in place to achieve consistent results.
- Practice On Scrap Wood
- Before working on your actual project, practice using the kerfmaker on scrap wood to familiarize yourself with the technique and make any necessary adjustments.
- Experiment With Blade Height
- You can adjust the height of the table saw blade to create different depths of dados or grooves. Test on scrap wood to find the ideal setting for your project.
- Safety First
- Always prioritize safety when using power tools. Wear appropriate protective gear and follow the manufacturer’s safety guidelines.
Final Verdict
To conclude, Crafting a DIY Kerf Maker for Precise Dados and Grooves, By creating your own DIY kerfmaker, you can achieve perfect dados and grooves in your woodworking projects without the need for specialized equipment. This simple jig offers a cost-effective solution for achieving accurate and clean cuts, making it an essential addition to any woodworker’s toolkit. Whether you’re a beginner or an experienced woodworker, the DIY kerfmaker will help you elevate the quality of your joinery and enhance your woodworking capabilities.
Frequently Asked Questions
Q. What exactly is a kerf maker, and how does it contribute to woodworking precision?
A. A kerf maker is a woodworking tool that helps create precise dados and grooves by guiding the saw blade accurately. It ensures consistent cuts for strong and accurate joinery.
Q. What materials are typically needed to craft a DIY kerf maker?
A. Common materials often include plywood or hardwood for the base, screws, a guide strip, and basic woodworking tools like a saw, drill, and screwdriver.
Q. Are woodworking skills necessary to craft the DIY kerf maker?
A. While some woodworking experience is beneficial, the guide often provides step-by-step instructions that cater to varying skill levels. It’s designed to be accessible for woodworkers of different expertise.