How To Get Cleaner Cuts With Miter Saw
In this article, How To Get Cleaner Cuts With Miter Saw will guide you to use tips and tricks for glossy and perfect cuts. Surely, these advantages will take your task to the next level!
How can you make straight cuts with a miter saw? Power miter saw is used to make cuts for molding, trim work, rafter and other carpentry jobs. The saw deals with straight cross cuts and angled cuts with ease and convenience.
A quality miter saw helps in doing all carpentry jobs from trimming a so- long tenon, mitering custom moldings for a picture frame, ripping a long stock of lumber to size, cutting a pile of face-frame rails to length. It really works great with the result of precise, accurate and clean cuts.
I have experienced the miter saw from the very time and fully satisfied from its star like performance. It gives the outcome like a slice of butter! Here are a few tips and tricks for getting outclass clean cuts! They are mentioned below!
Main Points
There are few steps for getting clean cuts with a miter saw.
- Always choose the right blade for the task.
- Soaked the blade in citrus based cleaner and concentrated detergents for smooth and clean cuts.
- Close the gap for better results
- Create a tighter squeeze
- Mark the line of cut before starting cutting.
Main Tips For How To Get Cleaner Cuts With Miter Saw
A miter saw is a handy tool to get pretty and decent clean cuts.
Choose The Right Blade
The most important tip is to choose the right blade for a miter saw. A miter saw having a blade with a 40-to 60-tooth performs well. A blade with 40-teeth is widely spaced and is ideal for quick ripping of frames of 3/6” . It can size down a long length of wood and it is a best choice for framing walls. But in this case it provides rough and grimy cuts.
But definitely I require smooth, precise and glossy cuts, for this I will choose a blade with a 80- to 100 tooth cross cutting blade. Surely, it’s an investment that may cost $100 or more, but it gives superior outcomes, and the difference will be clearly observed. The right blade gives top-quality cuts.
Process Of Soaking
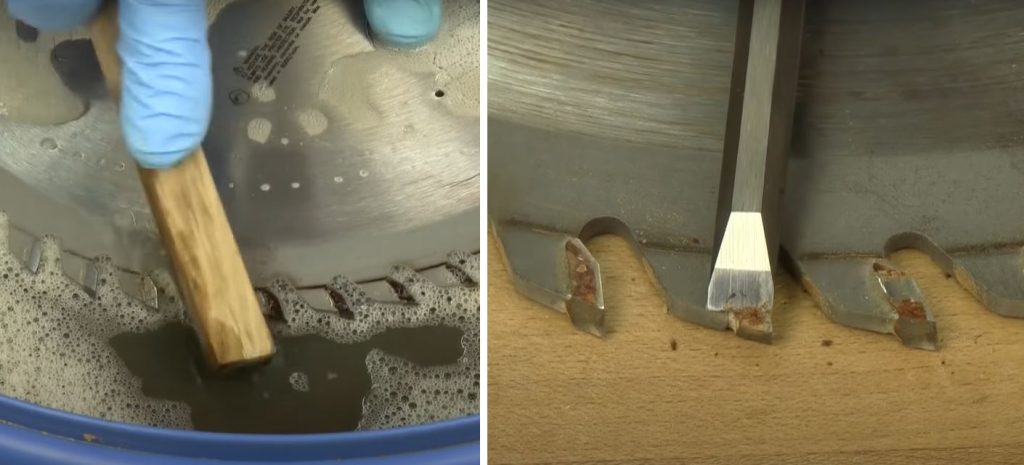
A blade plays a vital role in cutting, after performing a tough job a blade controls enough heat and pressure that’s why hard and stiff rust accumulates in the pits of the blade. Due to which the blade does not perform excellently. I soaked the blade in citrus based cleaner for 20 minutes, it really gives remarkable results. After dipping in this citrus based cleaner, concentrated detergent surprisingly helps in cleansing the blade by scrubbing gently with the help of soft bristle brush or brass. And cleanse it with the help of tissue or wipe. I found a neat and clean blade, I can really differentiate the super cutting effect after cleansing the blade.
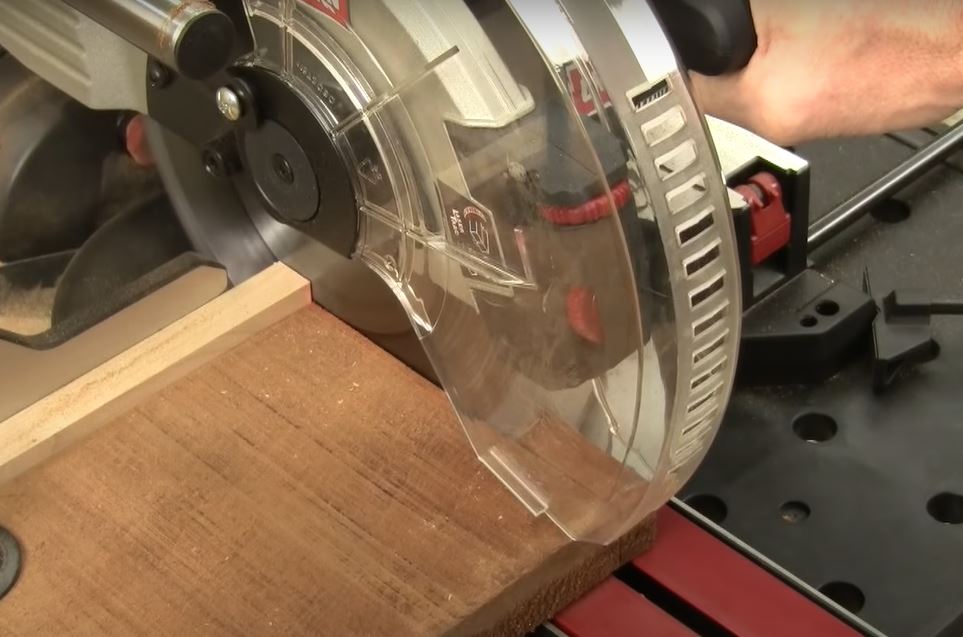
Close The Gap
I have observed that when a miter saw blade plunges down through the wood, the gap between the wood and the throat palate causes the weak surface fibers to be unsupported. In the result, the cuts will be rough and bogus.
In case of a gap. Stick a few layers of tape down over the throat plate to build it up. Then, slice the blade through it.
Create A Tighter Squeeze
In order to close up the gap between the throat plates on either side of the blade. I tried the loosening fitting of the screws and sliding moments of the plates at the same time. I have noticed that if a miter saw has this agile and effective feature, close up the kerf till the throat plate touches the teeth.
Scraps For Reinforcement
I chose a long scrap of hardboard or thin plywood under the miter saw blade in order to observe its tear out prevention. I noticed that I tightly hold both the scraps and the worksheet and started ripping all three scraps. I was really surprised to see the surgical cut quality of the saw.
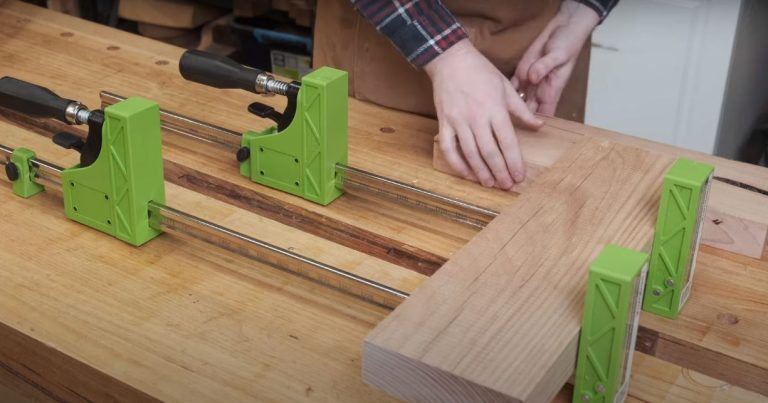
Mark Up The Line
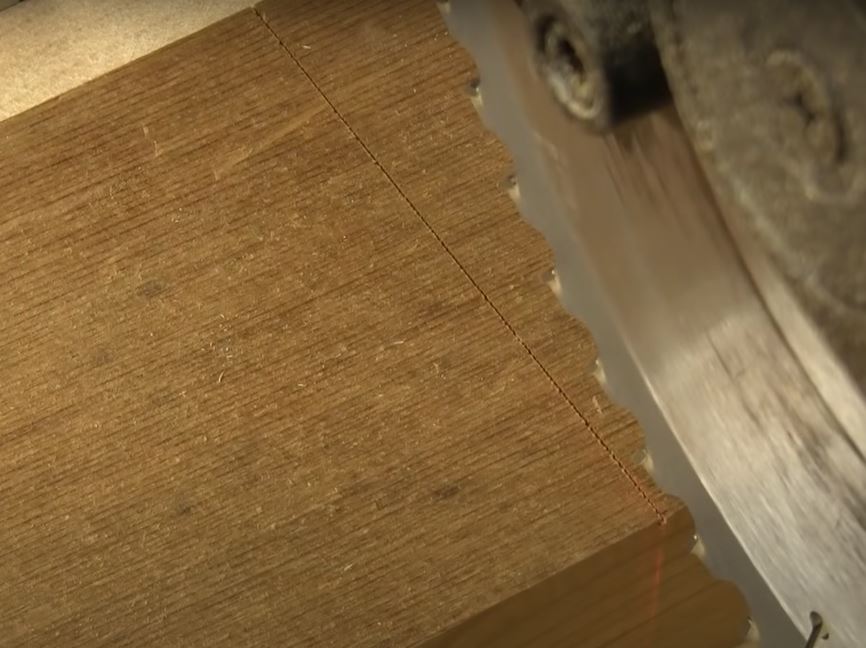
The most important step for getting the straight cuts with a miter saw is to mark up the line before starting cutting through the blade. I started to line up the side edges of the saw teeth carefully, with my knife line, and make the rip. The edge line of the wood is clean like a piece of butter! It was really a nice and perfect cutting through a miter saw.
Preparation Of A Door
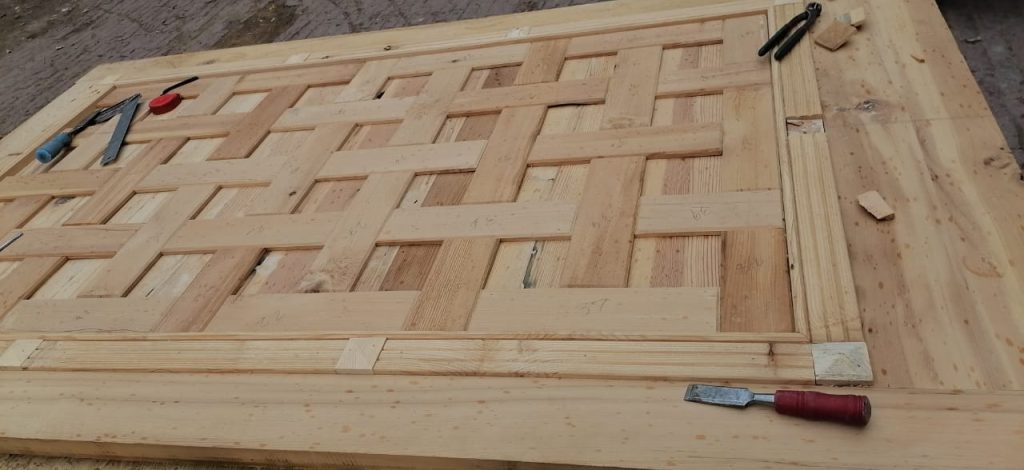
I prepared a gateway, for this I chose ash wood. A long piece of ash wood is ripped by a miter saw. When a large piece of lumber is cut through a miter saw blade, I did not get good results with it. I observed the wood edge with splinters. Then I observed the miter saw blade that was full of rust so I dipped the blade into citrus based cleaner, the same process I have mentioned above.
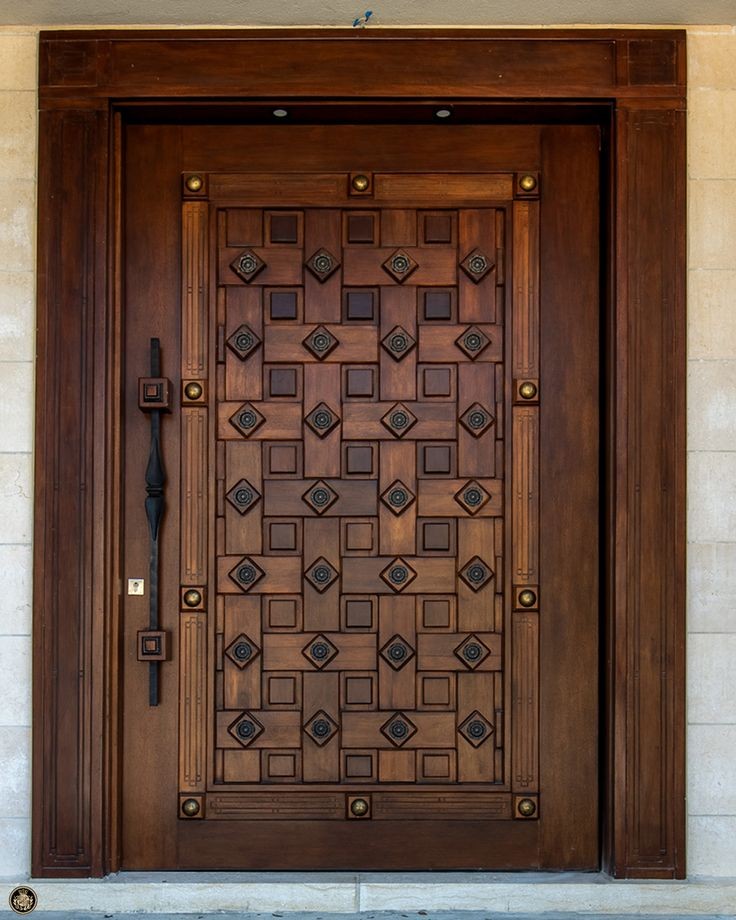
After processing all steps to get clean and straight cuts through a miter saw. I prepared a wooden door that can be observed in the image.
Final Thought
To move around the goal, the article, “ How To Get Cleaner Cuts With Miter Saw” reveals the steps for getting cleaner cuts! It is really fantastic and superb cuts that guide you to achieve high tasks through it.
Frequently Asked Questions
Q. Can a saw blade make the smoothest cut?
A. A crosscut blade is designed to create a smooth, with splinter free cuts. The teeth of the blade range for this purpose is 60- 80 teeth.
Q. How many teeth are suitable on a miter saw blade?
A. Mostly, the best quality of cut and finishing is directly dependent on the higher amount of saw blade teeth. In order to get fast and rough cuts a blade with fewer teeth will be more suitable.
Q. What are 5 safety rules for miter saw?
A. first of all must unplug the saw for changing the blade or when it is not in use.
Keep your fingers at distance.
Wear safety glasses and hearing protection during operation the saw.
Wait till the blade completes its stop at the end of each cut.