How To Craft A Router Circle Jig – Easy And Effective Guide
The article, How To Craft A Router Circle Jig – Easy And Effective Guide, Creates a router circle jig without the need for a center hole effortlessly. This guide offers a straightforward and efficient approach to crafting a circle jig, enabling precise circular cuts in woodworking projects with ease.
How To Craft A Router Circle Jig – Easy And Effective Guide? Crafting a circle routing jig without a center hole is simple with this guide. It provides an efficient approach for creating the jig, allowing accurate circular cuts in woodworking projects with ease and precision.
If you’re a woodworker or DIY enthusiast, you know the importance of having the right tools and jigs for various tasks. When it comes to cutting precise circles with a router, having a reliable circle jig can make all the difference. In this guide, we’ll show you how to create a simple yet effective jig for cutting circles with a router that doesn’t require a center hole. With this jig, you can effortlessly cut perfect circles for a variety of projects. This guide’s circle jig for router method is pure brilliance. It simplifies jig crafting for precise circular cuts. A must-have for wood enthusiasts seeking easy and effective solutions.
How To Craft A Router Circle Jig – Easy And Effective Guide/Step-By-Step Guide
Step 1
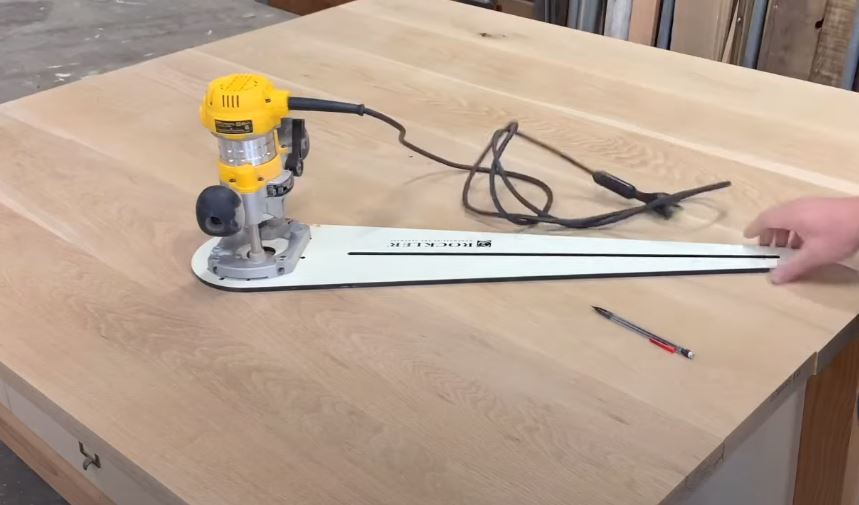
Gather Your Materials And Tools
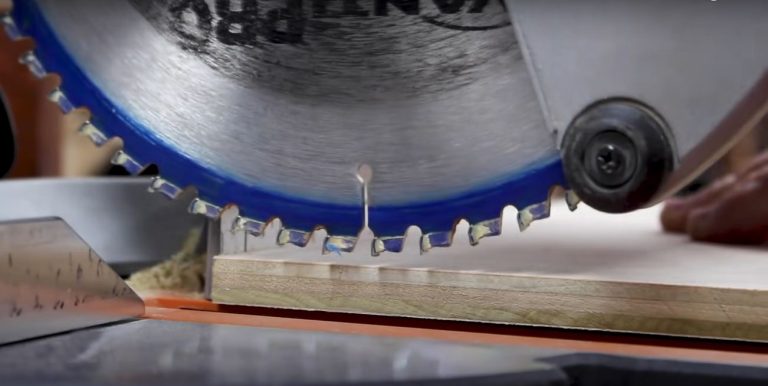
- Router
- Drill
- Saw (table saw or jigsaw)
- Sandpaper
- Clamps
- Screwdriver
Materials Required
- Scrap wood (plywood or any sturdy wood)
- Threaded rod (size according to the desired circle diameter)
- Nut and washer (to fit the threaded rod)
- Router base plate
- Wood screws
- Wood glue
- Clear tape
Step 2
Prepare The Jig Base
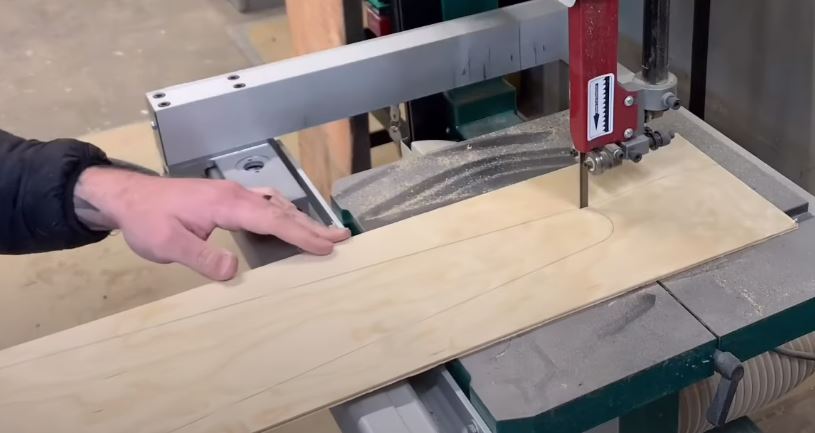
- Cut The Base
- Using your saw, cut a piece of scrap wood into a square or rectangular shape that’s larger than the maximum circle diameter you plan to cut.
- Drill Hole For Router Base
- Measure and mark the center of the jig base. Use a drill to create a hole that’s slightly larger than the diameter of your router’s base plate.
- Attach Router Base Plate
- Securely attach your router’s base plate to the jig base using wood screws. Make sure it is centered over the hole you drilled.
Step 3
Create The Pivot Point
- Insert Threaded Rod
- Thread the nut onto one end of the threaded rod and insert the other end through the hole in the jig base. The threaded rod will serve as the pivot point for your circle jig.
- Secure The Rod
- Place a washer over the threaded rod inside the hole. This will help the rod pivot smoothly. Use another nut to secure the threaded rod in place, sandwiching the jig base between the two nuts.
Step 4
Determine The Circle Radius
- Calculate the Radius
- The distance from the center of the threaded rod to the router bit will be the radius of your circle. Adjust the threaded rod’s length accordingly, keeping in mind the thickness of your workpiece.
- Set the Radius
- Measure and mark the calculated radius on the jig base. This will be the distance from the pivot point to the outer edge of your circle.
Step 5
Attach The Router
- Attach the Router
- Place your router on the jig base, aligning the router bit with the marked radius. Use clamps to secure the router in place.
- Secure with Tape
- To prevent the router from moving during the cut, apply clear tape to the router’s base and the jig base. This will create friction and keep the router stable.
Step 6
Cutting Circles
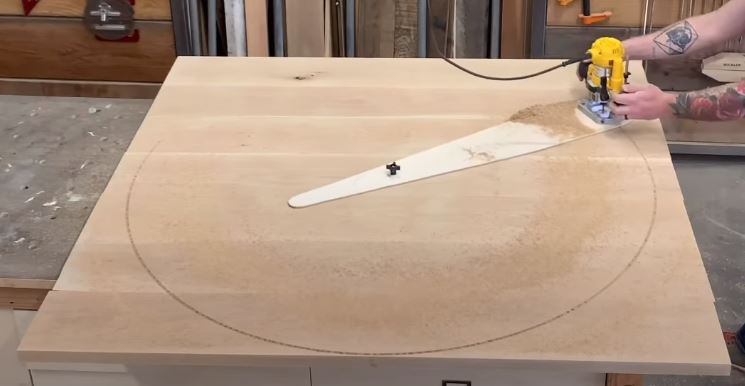
- Position The Jig
- Place your workpiece on your work surface and position the jig so that the router bit is at the starting point of your circle.
- Rotate The Jig
- Gently rotate the jig around the threaded rod to cut the circle. The router bit will create a clean and precise circular cut.
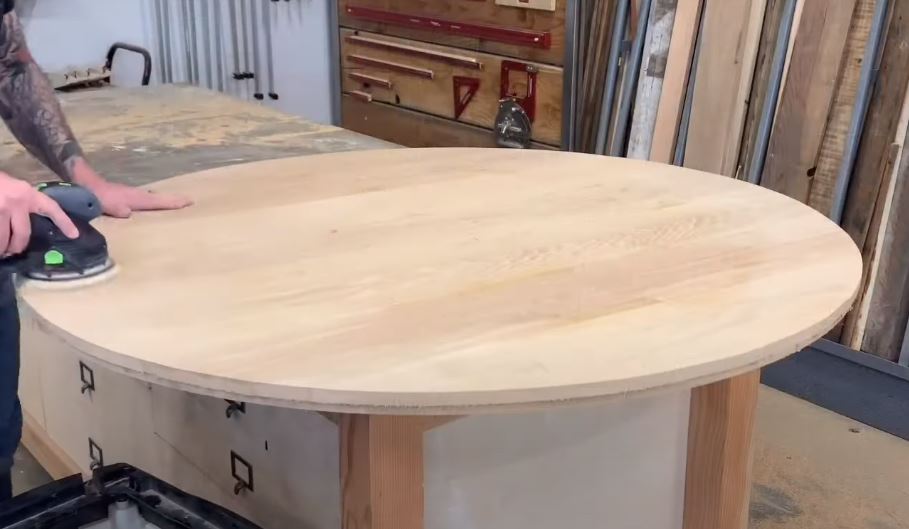
- Sand And Finish
- After cutting, sand the edges of the circle to smooth any rough edges. Your router circle jig has successfully created a perfect circle without the need for a center hole.
Final Thoughts
To conclude, How To Craft A Router Circle Jig – Easy And Effective Guide. Creating a router circle jig without a center hole is a practical solution for woodworkers and DIY enthusiasts. This simple jig allows you to cut accurate circles of varying sizes for your projects. With just a few tools and materials, you can have an essential tool in your workshop that opens up new possibilities for your woodworking projects.
By following these steps, you’ll be able to create intricate designs, decorative inlays, and rounded edges with ease. Remember to always prioritize safety and double-check your measurements before cutting. With your new router circle jig, you’ll have the freedom to explore creative designs and achieve precise results in your woodworking endeavors.
Frequently Asked Questions
Q. Why is creating a router circle jig without a center hole beneficial for woodworking projects?
A. A center-hole-free jig simplifies setup and alignment, eliminating the need to drill a center hole in the workpiece. This allows for cleaner cuts and reduces the risk of mistakes.
Q. What materials are typically required for crafting the router circle jig using this guide?
A. Common materials include a plywood base, a router guide bushing, screws, and basic woodworking tools like a saw, drill, and screwdriver.
Q. Can this router circle jig be adjusted for cutting different sizes of circles?
A. Yes, indeed. The guide often provides instructions for adjusting the router circle jig’s radius, allowing you to cut circles of various sizes effectively.