DIY Portable Measuring Tool Center / Free Plans
DIY Portable Measuring Tool Center / Free Plans, this article offers how to create a versatile DIY portable measuring tool stand center with the help of free plans. This guide provides step-by-step instructions to craft a functional and organized tool center, enhancing your woodworking or DIY projects with efficiency and convenience.
What are DIY Portable Measuring Tool Center / Free Plans? DIY Portable Measuring Tool Center with Free Plans is a comprehensive guide that instructs woodworking enthusiasts on creating a practical and organized tool center. It offers step-by-step instructions and free planer table, enabling the construction of a versatile and convenient tool storage solution for various projects.
If you’re a woodworking enthusiast, a DIY enthusiast, or a professional contractor, having an accurate and portable measuring tool center can greatly streamline your projects. In this guide, we’ll show you how to build a portable measuring tool stands center that will not only enhance your accuracy but also save you time and effort. With step-by-step instructions and free plans, you’ll have the tools you need to measure, calculate, and optimize your projects efficiently.
DIY Portable Measuring Tool Center / Free Plans/A Proper Guide
The Power of Portable Measurement
Why a Portable Measuring Tool Center?
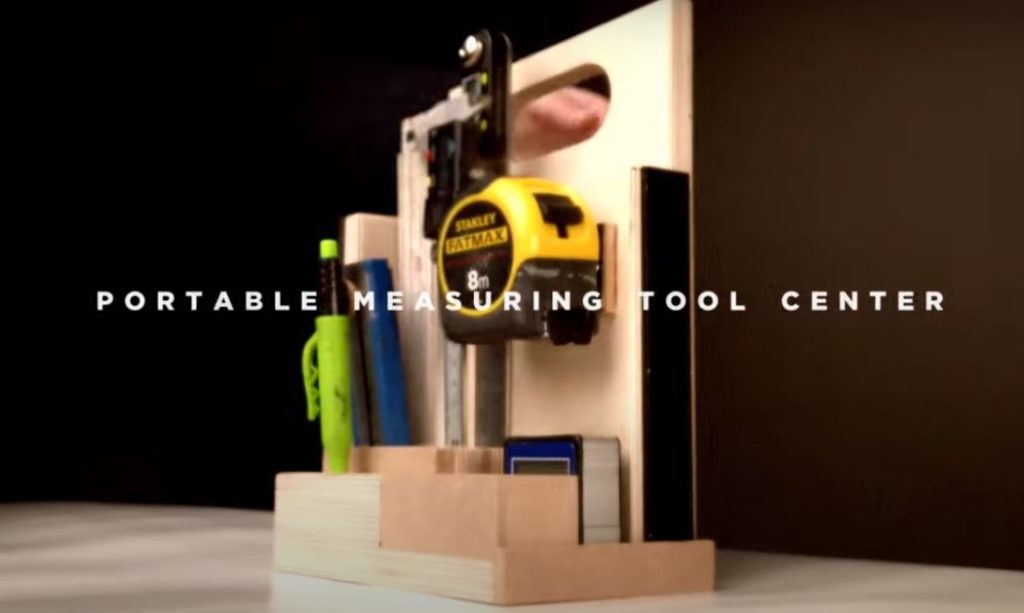
A portable measuring tool center is a versatile and essential addition to any woodworking or construction toolkit. It offers the convenience of having all your measuring tools and resources in one organized and easily accessible location. Whether you’re on the job site, in your workshop, or working on a diy tool cart , a portable measuring tool center enables you to take precise measurements, calculate dimensions, and generate accurate cut lists without the hassle of searching for tools or trying to keep track of measurements.
Benefits of a DIY Portable Measuring Tool Center
- Accuracy
Having all your measurement tools in one place ensures accurate and consistent results. - Efficiency
Streamline your workflow by minimizing the time spent searching for tool cart diy and calculating measurements. - Versatility
Use the tool center for various projects, from woodworking to construction to DIY home improvements. - Organization
Keep your tools organized, reducing the chances of misplacing or losing important measurement devices. - Time-Saving
Access measurements, calculations, and cut lists instantly, saving you valuable time on every project.
Building the Portable Measuring Tool Center
Materials Needed
For this project, you’ll need the following materials:
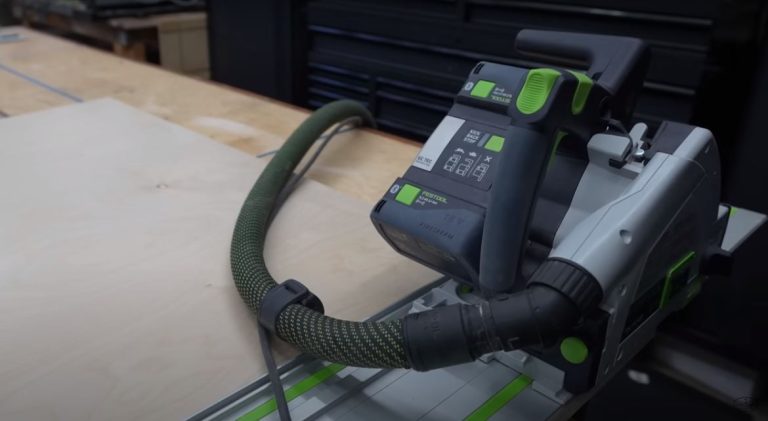
- Plywood Sheets
Choose a durable and sturdy plywood for the construction of the tool center. - Screws
Use screws to assemble the components securely. - Wood Glue
Apply wood glue for added strength and stability. - Drawer Slides
Incorporate drawer slides for easy access to storage compartments. - Hinges
Attach hinges to create a foldable work surface. - Measuring Tools
Include various measuring tools such as rulers, tape measures, angles, and squares. - Calculator
Keep a calculator handy for quick calculations. - Pen and Paper
Have writing materials available for jotting down measurements and notes.
Step-by-Step Guide
- Design and Measurements
- Begin by designing the layout of the portable measuring tool center. Consider the dimensions of the plywood sheets and the placement of compartments, drawers, and work surfaces.
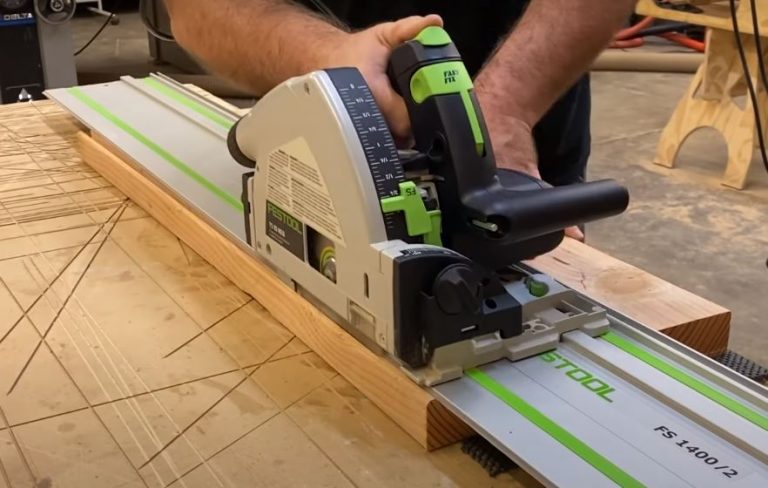
- Cutting the Plywood
- Use your design and measurements to cut the plywood sheets into the required pieces. Ensure accuracy when cutting to achieve precise fitment.
- Assemble the Frame
- Assemble the frame of the tool center using screws and wood glue. This frame will provide the structure for the compartments and drawers.
- Attach Drawer Slides
- Incorporate drawer slides to the compartments to ensure smooth opening and closing. This is where you’ll store your measuring tools.
- Add Work Surface
- Attach hinges to one side of the frame and the work surface to create a foldable work area. This surface can be used for drawing, sketching, or writing down measurements.
- Organize and Attach Storage
- Attach dividers and organizers within the compartments to keep your measuring tools neatly arranged.
- Optional
- Add Calculator Holder Incorporate a holder for your calculator within the tool center for quick access.
Integrate Technology for Enhanced Efficiency
Utilizing Software for Measurement
In addition to physical measuring tools, you can also utilize software and apps to enhance your measuring accuracy and efficiency. There are various software options available that allow you to create 2D and 3D drawings, generate accurate floor plans, and even calculate complex shapes in real time. Some software interfaces are compatible with iOS and Android devices, making it easy to use on-site for a comprehensive measurement solution.
Conclusion
To conclude, DIY Portable Measuring Tool Center / Free Plans, A DIY portable measuring tool center is really amazing for anyone who values accuracy, efficiency, and organization in their woodworking or construction projects. By having all your measurement tools and resources in one convenient location, you can save time, optimize your workflow, and produce high-quality results. With the step-by-step instructions and free plans provided, you have the opportunity to build a versatile and comprehensive tool center that will serve you well for multiple projects to come. Don’t miss out on the chance to upgrade your measuring capabilities – build your own portable measuring tool center today!
Frequently Asked Questions
- Q.Do I need to have woodworking experience to build this?
- A. While some woodworking skills are helpful, the project can be completed by DIY enthusiasts of varying skill levels. The step-by-step instructions and free plans will guide you through the process.
- Q.What tools are necessary for this project?
- A. Basic hand tools such as saws, screwdrivers, and drills are necessary for cutting and assembling the plywood. Depending on the complexity of your design, you may need additional tools for attaching drawer slides and hinges.
- Q.Is there an additional cost for the software or apps?
- A. Some software and apps may have a cost associated with them. However, there are also free or trial versions available for download.
- Q. Can I adjust the measurements and design to fit my needs?
- A. Absolutely! Feel free to adjust the measurements and design to match your preferences and the tools you intend to store in the tool center.