Crafting a Stylish DIY Pallet Shoe Rack/ 5 Simple Steps with Free Plans
Crafting a Stylish DIY Pallet Shoe Rack/ 5 Simple Steps with Free Plans,this article offers how to create a chic shoe rack diy using a This guide presents five simple steps accompanied by free plans, making the process easy and enjoyable. Organize your footwear stylishly and sustainably with this pallet shoe rack project.
How To Crafting a Stylish DIY Pallet Shoe Rack/ 5 Simple Steps with Free Plans? Craft a fashionable wooden homemade diy shoe rack effortlessly with this guide. The process involves five straightforward steps, complemented by provided free plans. Achieve stylish and sustainable shoe organization using pallets.
If you’re looking for a stylish and functional solution to keep your shoes organized, a diy wood shoe rack could be the perfect project for you. Not only is it an excellent way to repurpose pallet wood, but it also adds a rustic and artistic touch to your home decor. In this guide, we’ll walk you through the process of building your own pallet shoe rack in 5 simple steps, complete with free plans.
I have experienced stylish DIY Pallet shoe rack. This guide’s steps to simplify creating a chic build a shoe rack . Free plans are a bonus. A must-try project for those seeking style and organization.
Crafting a Stylish DIY Pallet Shoe Rack/ 5 Simple Steps with Free Plans/A Complete Guide
Step 1
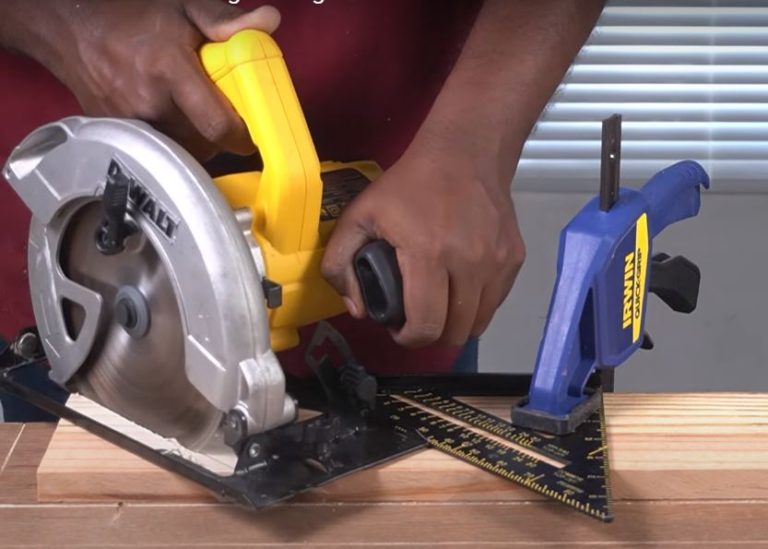
Gather Your Materials And Tools
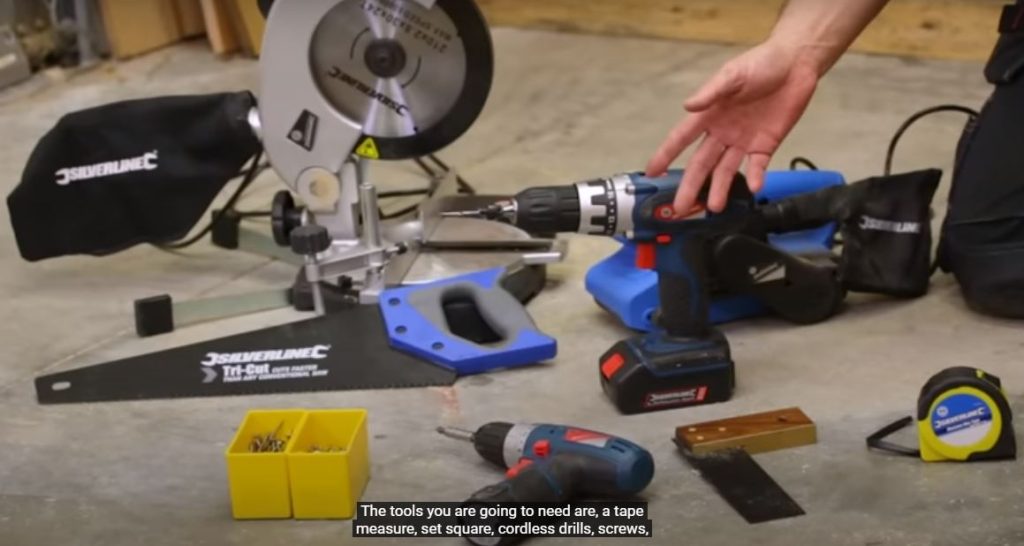
- Hammer
- Screwdriver
- Stud finder
- Sandpaper
- Paint or stain (optional)
- Polyurethane (optional)
Materials Required
- Pallet wood (free pallet wood is a great option)
- Screws
- Wood glue
- Rag
Step 2
Prepare The Pallet Wood
- Disassemble The Pallet
- Carefully take apart the pallet to retrieve the wooden boards. Make sure to remove any nails or staples from the boards.
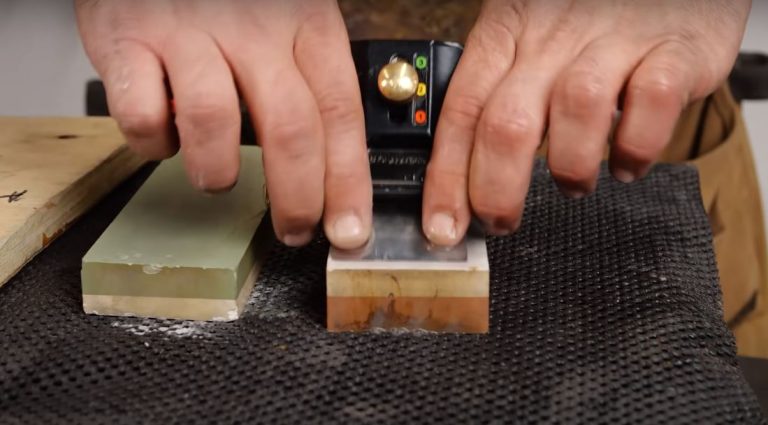
- Sand The Boards
- Sand the pallet wood boards to smooth out any rough edges and surfaces. This step is crucial to ensure that your shoe rack is safe to use and visually appealing.
Step 3
Build The Shoe Rack
- Design And Layout
- Plan the arrangement of your pallet wood boards for the shoe rack. You can get creative with the design, arranging the boards horizontally or vertically based on your preference.
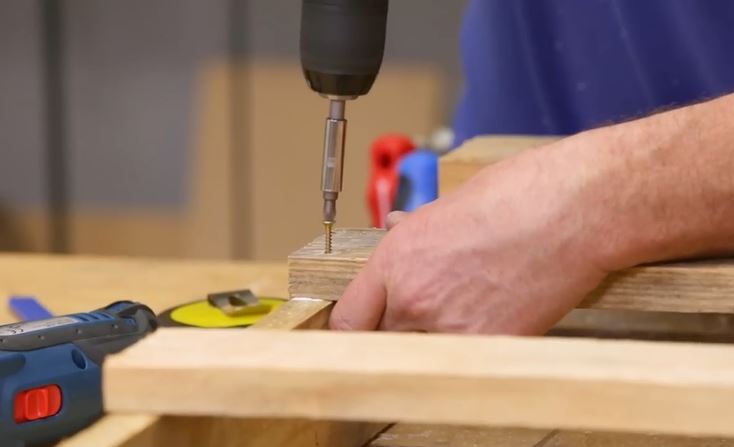
- Assemble The Frame
- Use the hammer, screws, and wood glue to assemble the frame of the shoe rack plans. Attach the boards together securely, making sure the structure is stable and robust.
Step 4
Finishing Touches
- Paint or Stain (Optional): If you want to add a pop of color or enhance the natural beauty of the wood, consider painting or staining the shoe rack. Allow the paint or stain to dry completely before proceeding.
- Apply Polyurethane (Optional): To protect the wood and give it a polished look, you can apply a coat of polyurethane. This step is particularly useful if the shoe rack will be placed in high-traffic areas.
Step 5
Install And Enjoy
- Locate Wall Studs
- Use a stud finder to locate the wall studs where you intend to hang the shoe rack. This will ensure that your shoe rack is securely anchored to the wall.
- Hang The Shoe Rack
- With the help of a screwdriver and screws, hang the shoe rack on the wall. Make sure it’s level and secure.
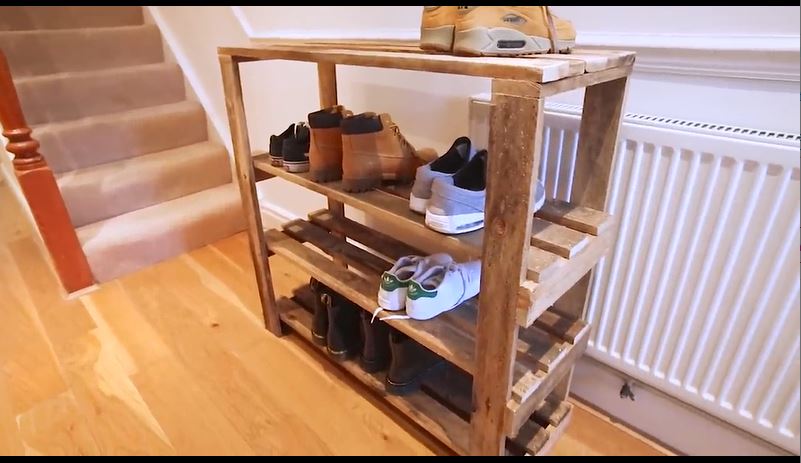
- Arrange Your Shoes
- Once the shoe rack is installed, neatly arrange your shoes on the pallet wood shelves. You’ll love how the rustic and decorative design of the pallet wood complements your footwear.
Additional Tips and Considerations
- Measure Your Space
- Before building the wood shoe rack diy, measure the available space in your entrance, hallway, garage, or any other area where you plan to install it. This will help you determine the ideal dimensions for your shoe rack.
- Customize The Design
- Feel free to get creative with the design of your shoe rack. You can experiment with different arrangements of the pallet wood boards to achieve the desired look.
- Personalize The Finish
- Depending on your home decor style, you can choose to leave the pallet wood with a rustic look, paint it in your favorite color, or stain it to match other furniture pieces.
- Declutter And Organize
- A pallet shoe rack not only holds your shoes but also helps declutter your space and keep your footwear organized. It’s a practical addition to any home.
Final Thoughts
To conclude,Crafting a Stylish DIY Pallet Shoe Rack/ 5 Simple Steps with Free Plans,By following these 5 simple steps and using the provided free plans, you can create a cool DIY pallet shoe rack that adds functionality and charm to your living space. This project is an excellent way to showcase your carpentry skills, make use of recycled materials, and create a unique piece of furniture that reflects your personal style. Whether you’re a DIY enthusiast or a woodworking lover, this pallet shoe rack project is sure to impress and enhance your home decor.
Frequently Asked Questions
Q. How can I source pallets for creating the shoe rack?
A. You can often find pallets at local businesses, warehouses, or online platforms that specialize in reclaimed materials. Ensure they are in good condition for safe and effective crafting.
Q. Do the free plans provide dimensions for the shoe rack’s size?
A. Yes, the free plans usually include dimensions, guiding you in creating a shoe rack that fits your space and footwear collection perfectly.
Q. Can I modify the design of the pallet shoe rack to match my home’s style?
A. Absolutely. While the guide provides a basic design, you can often customize the shoe rack’s finish, color, and overall look to complement your home’s aesthetic.