DIY Panel Saw Build Your Own Sliding Carriage Panel Saw
DIY Panel Saw Build Your Own Sliding Carriage Panel Saw offers step-by-step how to construct your very own sliding carriage panel saw, empowering you to make accurate cuts effortlessly. Surely, DIY panel saw will elevate your woodworking projects with this cost-effective solution for achieving professional-level results.
How does DIY Panel Saw Building Your Own Sliding Carriage Panel Saw? Our guide empowers woodworking enthusiasts to construct DIY panel saw plans complete with a sliding carriage mechanism. Achieve precision cuts and elevate your projects with this comprehensive, cost-effective solution.
For woodworking enthusiasts and professionals alike, a panel saw is a valuable addition to any workshop. It simplifies the process of cutting large sheets of material like plywood with precision and ease.
In this guide, we’ll explore the step-by-step process of building your own sliding carriage diy panel saw plans, offering woodworking aficionados an opportunity to enhance their craft and efficiency. Constructing my sliding carriage panel saw was really amazing! This guide’s clear steps and illustrations made it a breeze. Now I create flawless cuts—truly a must-have for any woodworking enthusiasts.
I Saved money and gained a top-notch panel saw. DIYing with this guide was rewarding. The sliding carriage mechanism is genius. Woodworking projects are a joy now.
DIY Panel Saw Build Your Own Sliding Carriage Panel Saw/ Step-By Step Guide
What is a Sliding Carriage Panel Saw?
A sliding carriage panel saw, often referred to as a panel saw diy, is a woodworking tool designed to make cutting large sheets of material, like plywood, more manageable. It consists of a saw mounted on a sliding carriage, allowing for precise vertical and horizontal cuts with minimal effort.
Why Build Your Own Panel Saw?
Building your own panel saw offers several advantages. It’s a cost-effective alternative to purchasing a pre-made one, and you have the freedom to customize it according to your specific needs and workshop space. Additionally, it can be a rewarding DIY woodworking project that enhances your skills.
Gather the Materials and Tools
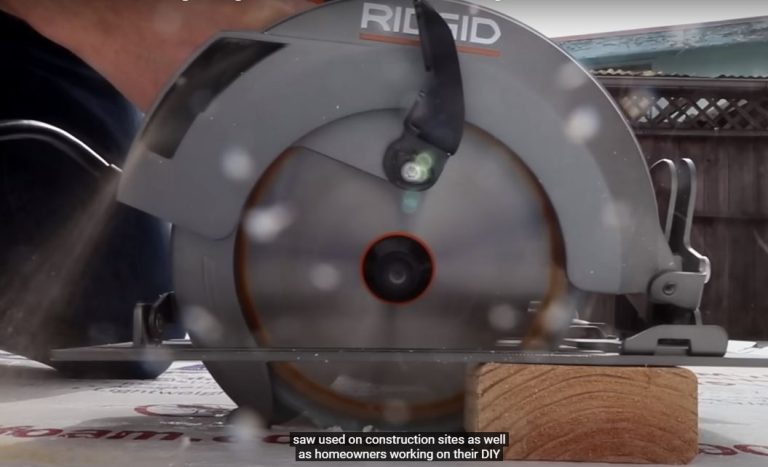
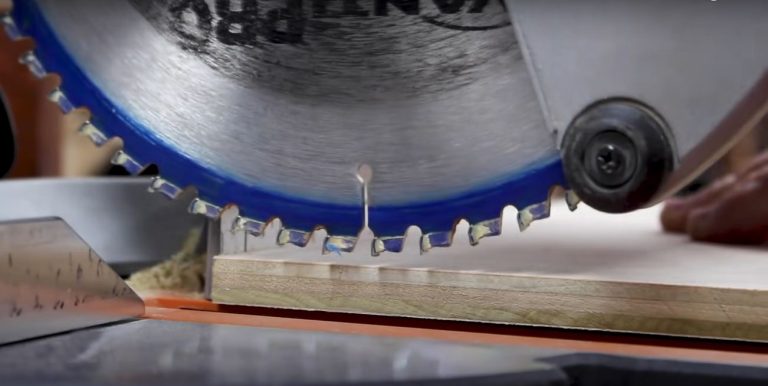
Before diving into the construction process, gather the necessary materials and tools. You’ll need a circular saw, sheet of plywood, guide rail, rollers, clamps, drill, screws, and various woodworking hardware.
Construct the Saw Base and Carriage
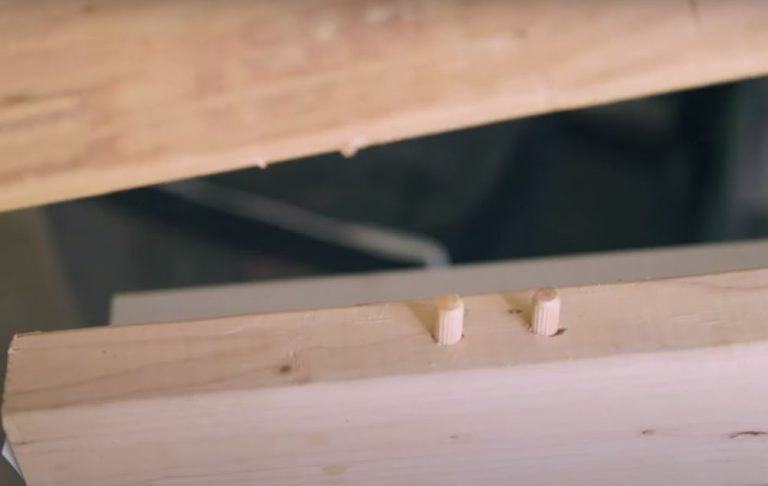
Begin by building the saw base, which will support the circular saw. Attach the circular saw to the base using mounting holes and ensure proper alignment. Next, construct the sliding carriage, which will allow the saw to move smoothly along the base. Use roller bearings and guides to ensure precise movement.
Mounting the Guide Rail

The guide rail is essential for straight and accurate cuts. Attach the guide rail to the base, ensuring it’s aligned properly. This rail will serve as a guide for the sliding carriage, ensuring your cuts are straight and true.
Building the Sliding Carriage Mechanism
The sliding carriage mechanism is the heart of your panel saw. It enables the saw to move horizontally and vertically with ease. Utilize rollers and bearing mechanisms to achieve smooth and controlled movement. This step requires attention to detail for precise operation.
Incorporating Additional Features
Consider incorporating features such as a plunge router attachment for dado cuts, T-track for securing workpieces, and adjustable stops for repetitive cuts. These features can enhance the versatility and functionality of your panel saw.
Fine-Tuning and Testing
Once the construction is complete, carefully align all components to ensure the saw moves smoothly and accurately. Test the panel saw with scrap material before using it on valuable sheets to ensure everything works as intended.
Tips and Considerations
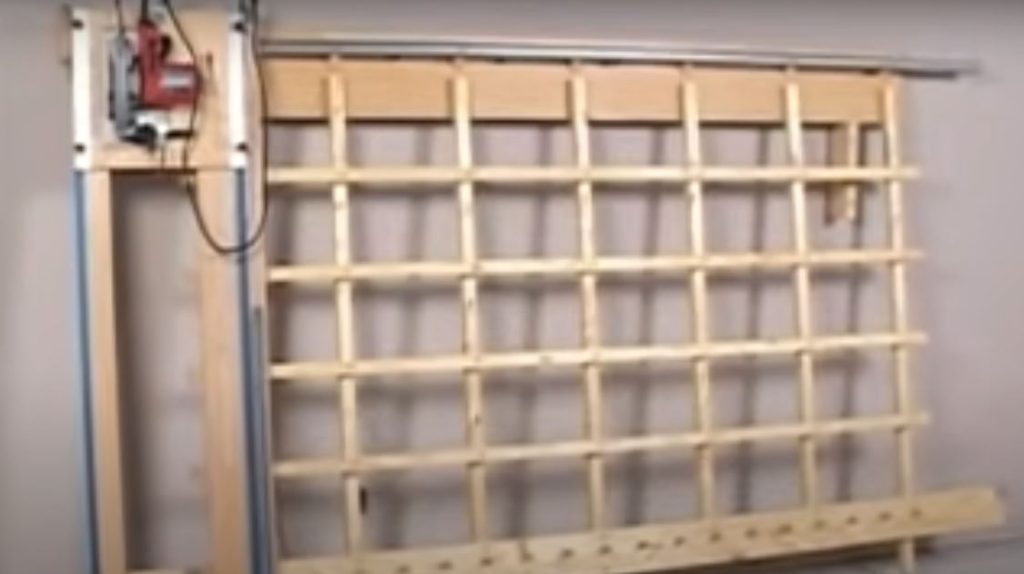
- Wall Space
- Mount the plywood panel saw to a wall to save space in your workshop when not in use.
- Safety
- Always prioritize safety by wearing appropriate protective gear and following proper woodworking practices.
- Small Workshop
- A DIY panel saw is especially useful in small workshops where space is limited.
- Woodsmith Plans
- Woodsmith magazine and online resources offer detailed plans and instructions for building a sliding carriage panel saw.
Conclusion
To sum up, DIY Panel Saw Build Your Own Sliding Carriage Panel Saw Building your own sliding carriage panel saw is a fulfilling woodworking project that enhances your capabilities and efficiency in the workshop. With careful planning, attention to detail, and the right tools, you can create a versatile tool that simplifies the process of cutting large sheets of material. Keep in mind that this project requires precision, but the end result is a valuable addition to your woodworking arsenal that can significantly impact the quality of your projects.
Please note that this article may include affiliate links. If you make a purchase through these links, we may receive a commission, which helps support and improve our content. However, these affiliations do not impact our recommendations or the integrity of our information.
Frequently Asked Questions
Q. Is building a DIY panel saw suitable for beginners?
A. Absolutely! Our guide provides step-by-step instructions and illustrations, making the process accessible for woodworkers of all levels. You’ll gain valuable skills as you create your sliding carriage panel saw.
Q. What materials are required for the project?
A. The guide includes a comprehensive list of materials and tools needed. Generally, you’ll require plywood, rails, a sliding mechanism, a circular saw, screws, and basic woodworking tools. Detailed specifics are provided in the guide.
Q. Can I customize the panel saw’s size and features?
A. Yes, the guide offers flexibility for tailoring the panel saw to your preferences. You can adjust dimensions and incorporate features to suit your workspace and projects, enhancing the functionality and personalization of your sliding carriage panel saw.