How To Build DIY Track Saw Guide For Circular Saw
The article, How To Build DIY Track Saw Guide For Circular Saw will depict the top notch details about making DIY track saw which can make the work superfluous!
How To Build a DIY Track Saw Guide For Circular Saw? But It is really so simple to make a DIY Track saw guide for circular saw on the plywood on flooring with straight edge or guide. The straight edge works perfectly; It tightly holds the clamp that keeps it secure to the plywood. The saw has a base that requires fit over the rail on the track saw and can easily move. That is the exact point will determine where the circular saw will cut so it will help where to mark on the plywood. It provides clean, flash, smooth and precise cuts.
What can I use as a straight edge for a circular saw? The problem with straight edges is that you not only have to measure the edge of the plywood from where you want to rip the plywood but also consider the distance between blade and the edge of the base. It takes more time and measurements for accurate cuts. The easiest and simplest way to fix the issue is track saw. The track from the Retrofit Kit that I used with the circular saw. It really worked great!
Being a DIYer, I did lots of the observations in preparing a DIY track saw guide. The method I chose for the preparation of the track saw guide was really simple and fantastic. I used the method for a track saw guide that can even cut the maximum thick plywood floors easily. The process of making my own DIY track saw guide allows me to elevate my woodworking skills and achieve professional- quality results.
How To Build DIY Track Saw Guide For Circular Saw / Reviews
There are some steps for making a DIY track saw guide for circular saw that I used below!
- 1 or 2 sheets of plywood (3/4-inch thickness)
- Measuring tape
- Straightedge ruler or metal guide rail
- Circular saw
- Clamps
- Drill
- Screws
- Screwdriver or drill bit
- Sandpaper
- Pencil
Size Of Plywood

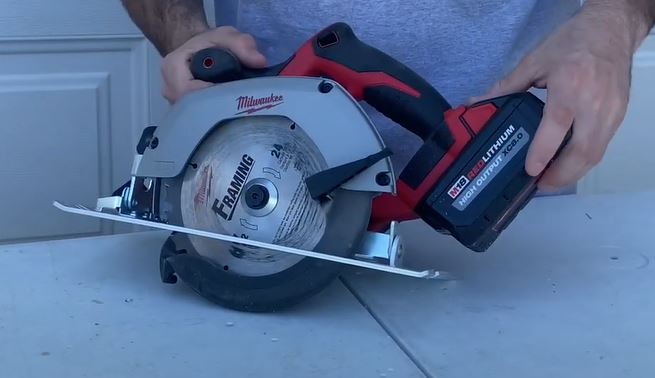
First of all, I suggested or considered the type of project that I’ll be working on and the required dimensions for the track saw guide. I chose plywood around three quarters of an inch. I made sure here on the track that the motor didn’t hit the top of the saw. There should be clearance. I also applied glu down the wood piece. I also considered that this side of the track is wider than the circular saw base. I marked the dimension on the plywood sheet with the help of measuring tape and pencil.
Downsize The Plywood
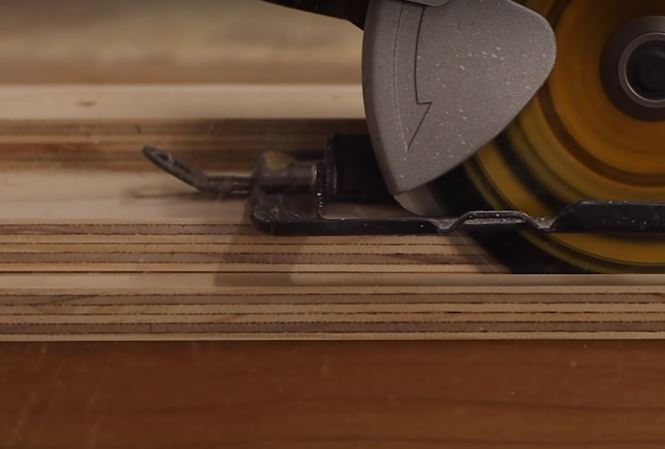
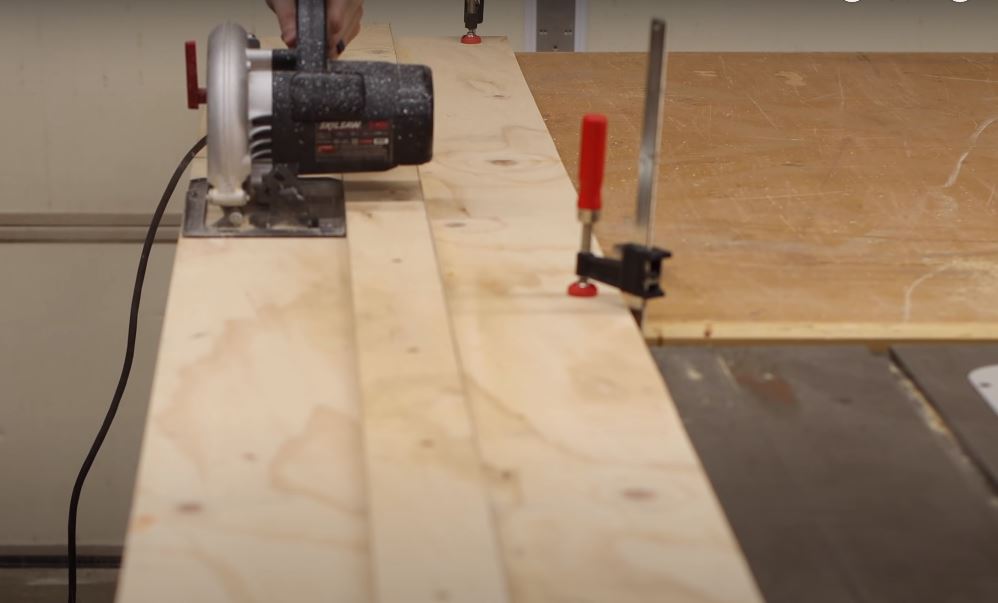
In this step, I used a circular saw to cut the plywood shelf along the marked lines with safety precautions. I pushed along the track up against the fence and got really nice and straight cuts and zero clearance cut lines. I made sure that I maintained a steady hand and followed a straight way to get clean and accurate cuts. I used these two strips of plywood and stuck them under the plywood. Here I could adjust the depth of the circular saw.
Build The Fence
I attested three inches wide the fence and measured from the factory edge on each end marked at three inches. Then I got a straight edge and connected all those lines free hands to the cut with the circular saw track. I focused on the straight factory edge instead of how the straight side is.
Preparation Of Guide Rail
Luckily I had a straightedge ruler or a metal guide rail, it can serve as an excellent cutting guide for my track saw. I experienced that by aligning the straight edge ruler along one edge of the plywood I can secure it in place by using clamps. Here I also ensured that it is perfectly straight and properly aligned with the marked dimensions.
Drill Holes
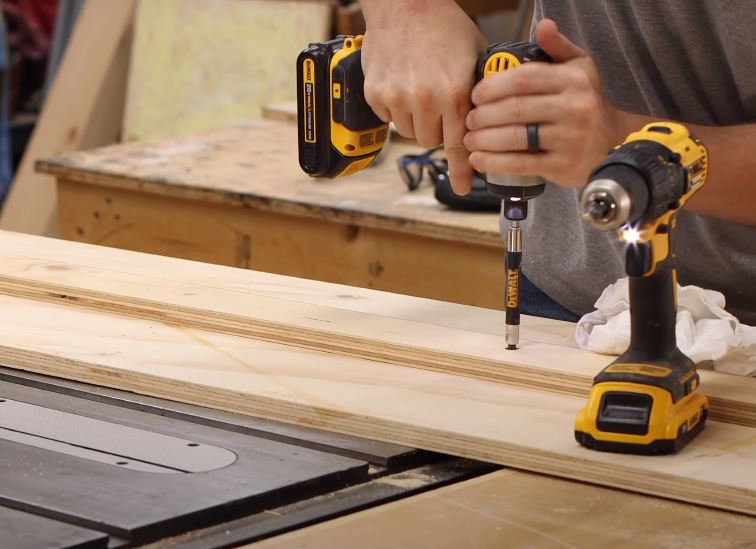
After attaching the guide rail, I used to drill evenly spaced holes along its length, going through the plywood for flooring
3.. I used the drill bit that matches the size of the screws that I was going to use. I also observed that it is essential to create holes large enough to allow the screw to pass through with ease.
Attach The Guide Rail
I placed the straightedge ruler or guide rail back onto the plywood, by aligning it with the pre- drilled holes. I inserted screws through the holes and tightened them by using a screwdriver or drill. I made sure here, not to over tighten the screws , as it may cause the wood to split.
Adjust The Circular Saw Onto The Track Saw Guide
When I attached the guide rail securely, I put my circular saw onto the track saw guide. I also observed a few cuts on scrap wood in order to check the accuracy of the cuts and adjusted the guide rail if necessary. It’s really crucial to ensure that the guide rail aligns perfectly with the saw blade for achieving precise and straight cuts.
Sand And Finish
I used sandpaper in order to clean the surface area and edges of the plywood guide. The use of finish helped in protecting the wood and also enhanced its durability.
Final Thought
To sum up, How To Build DIY Track Saw Guide For Circular Saw, this article provides the complete information about the DIY track saw guide. By using following steps or instructions, I can easily make DIY track saw within a few minutes and I can elevate my woodworking capabilities to new heights. Through these steps I can achieve highly precise cuts everywhere.
Frequently Asked Questions
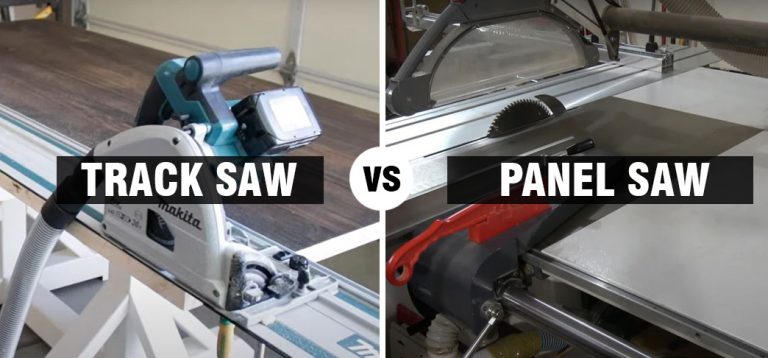
Q. What can you use instead of a track saw?
A. Edge guides are universal adapters and allow standard circular saw to ride along a track. Edge guides with standard circular saws can be used to cut down the sheet goods with perfect accuracy.
Q. Do you need a guide for a circular saw?
A. The additional guide rail to a circular saw can enhance the performance and accuracy. A guide rail provides a straight track for the saw to move along while attached to the material being cut.
Q. Which square can be used as a guide when using a circular saw?
A. A speed-brand layout square is a handy guide for getting straight crosscuts with the help of a circular saw.